My Barn Conversion … musings in small-house, off-grid, architecture, design with smatterings of art, history and literature
-

Up the proles…
“ What does it mean to be a proletarian, really?
-

What’s behind the bricked up door
In Penally, Pembrokeshire, the stuff of a vampire enthusiasts’ fevered dreams… I’m sure it’s just a blocked up door that stopped being used many years ago, but it’s nice to imagine.
-

#HutLife
View this post on Instagram A post shared by martin ford (@martinjamesford)
-
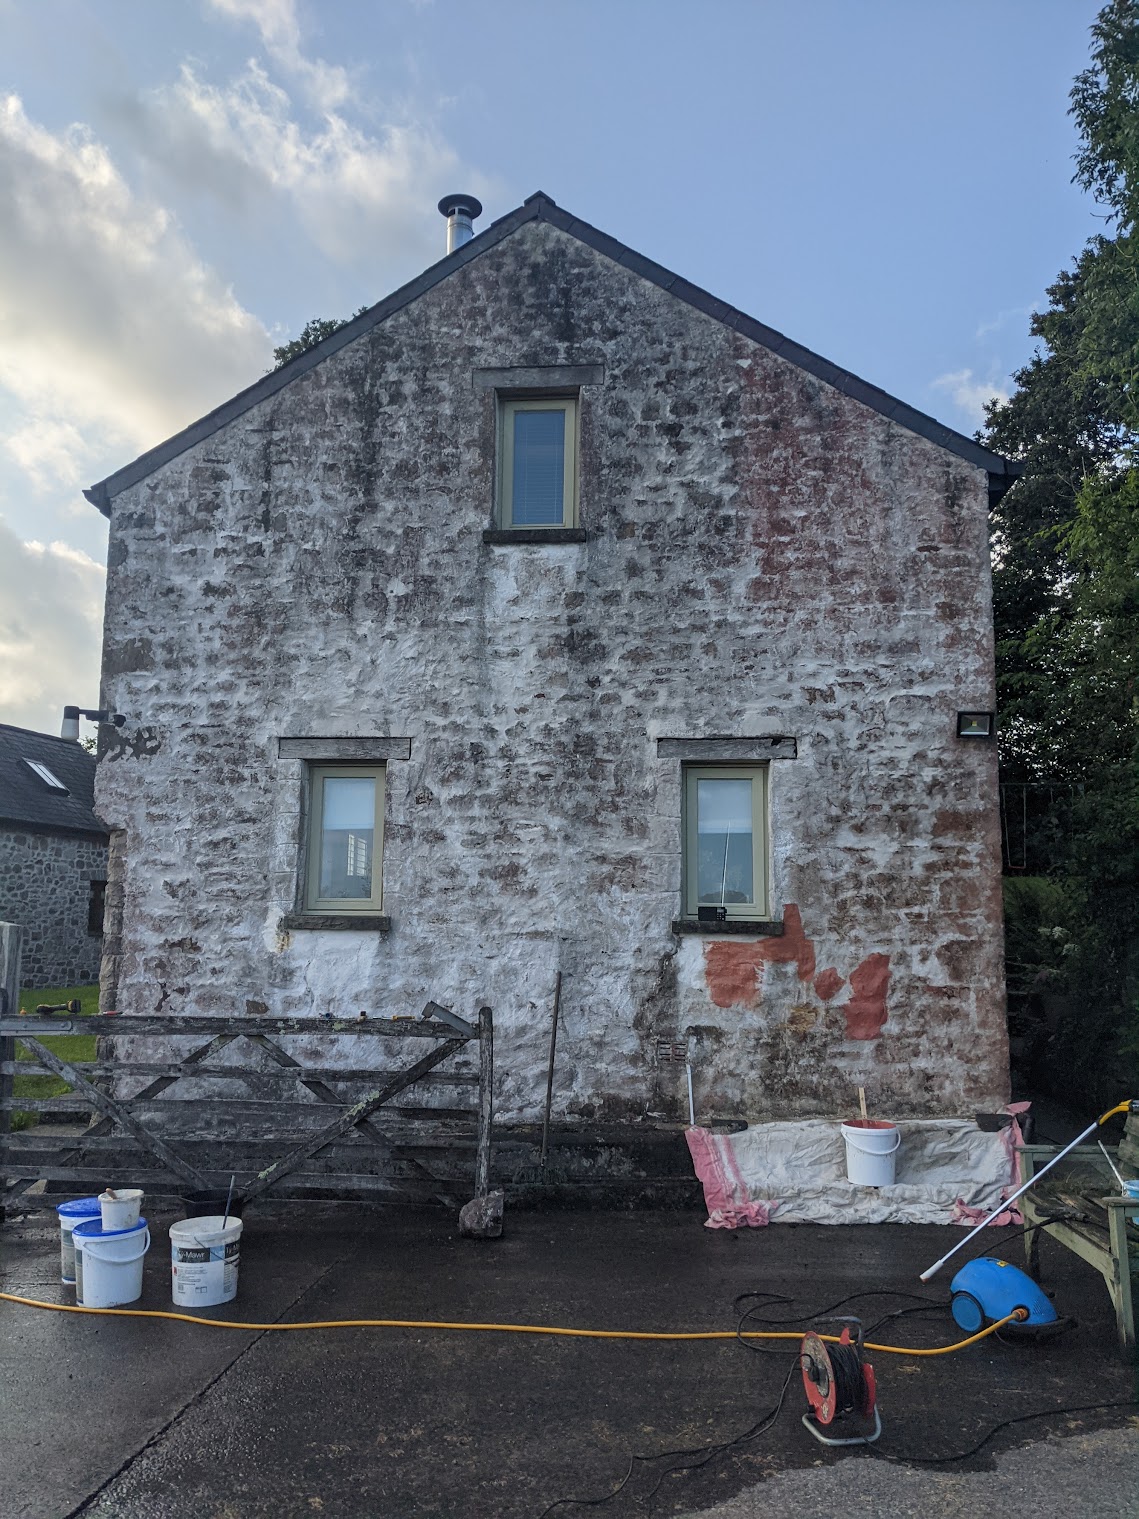
Limewash refresh – before and after
Before = the weather-worn, mucky gable end of a barn conversion. After = the fleshy, healthy, freshly limewashed gable end of a barn conversion.
-
Green Deal slow beginnings?
Oh dear! The green deal hasn’t got off to a very auspicious start… As reported in the Telegraph today since it was launched nearly a year ago just 12 homes have taken advantage of the Green Deal with a few hundred more in the pipeline. 71,210 households had been assessed for Green Deal measures such…
-
Autumn 2013
Right that’s the summer over with, now I can get on with some real work without the distractions of other things (like holidays and playing with children, all that enjoyable stuff that gets in the way of progress)… With few major jobs (painting, boxing in – nasty stuff!) left inside, mainly fiddly things that need…
-
Moaning
I’m having a moan on twitter…
-
A lovely Flemish barn conversion
I love the interior of this conversion and the great use of horizontal slats on this conversion. I retains the essential ‘barnyness’ of the building… flemish-barn-by-arend-groenewegen-architect
-
Coming soon, my barn conversion guide…
-
The property roller coaster – planning reform to be rethought
Eric Pickles vague compromise on planning reform keeps the house happy (for now).
-
Interesting earthship greenhouse project on Kickstarter
I really like this Kickstarter project >> The Farm of the Future: Earthship-Inspired Greenhouse This project is “Prototyping the First 100% Off-The-Grid, Affordable, Low-Maintenance Greenhouse using Earthship Principles and Aquaponics“. If any of those words meaning anything to you you’ll be interested in the project if not, pass it by… It’s already funded so I…
-
VAT Reclaim sent
I sent in my reclaim of the VAT on the conversion of the barn a week ago today.